Pages

Showing posts with label crafts tutorials. Show all posts

Tuesday, January 26, 2010

Valentine Potpourri craft

Valentine's craft and giveaway
I thought I'd share a craft I used to make, and have since resurrected! LOL

Here's what you'll need:
Wide lace (you can use "off the bolt" lace fabric, but I just found this 6 inch wide flat lace trim),
Two different sizes white lace eyelet, I had 1 inch and 1.2 inch, but you can use any TWO DIFFERENT sizes you wish.
About a yard each.
oh yes, and potpourri and hot glue gun and glue sticks!

See that wire? I got mine in the gardent dept of Michael's. I was really wanting the thick coated (white) wires, but they didn't have 'em at Michael's, Joann's or Walmart. I KNOW I used to use the white ones. I saw thin ones, but don't waste your time on those! LOL

On the eyelet, there's a "casing" at the top where it's gathered. Run the wire "stick" through this. Some have cotton casings, this one just had net-type - which is why I really wanted that white wire! LOL


Run it the whole length of the wire "stick"


Leave enough ends of the wire exposed (for twisting together later)


Join the ends. You could shape into a heart before joining the ends if you're brave. But I found the best way to do it is join the ends first, then shape into a heart.....


Then when you make the back heart (the one that has the larger lace) you can shape it to the form of the heart you first made.


Now you're going to make a "lace sandwich". Don't worry about cutting out a heart shape of the lace, just lay some down and glue. You can trim later.


See?


Now do this for both hearts.


NOTE: I usually put in a little "give" to the top heart. You're going to be "stuffing" with potpourri so you want it to be able to hold it, right? LOL. If you don't know what I mean, just ask. I'll be happy to try to confuse you more. (giggle)


Hot glue the two hearts together, leaving a small opening to stuff the pot pourri through, then glue the opening closed.

You're basically done now, but here's the fun part...Figuring out how you want to decorate it. I had trouble deciding....

I tried rose buds, I tried 1/4 inch satin ribbon and couldn't decide where to put it! LOL
Then I finally decided on some shear organza ribbon....

And glued a small rinestone in the middle of the bow.
OH! I just glued a loop of ribbon on the back for a hanger.

These make great Valentines. But, you could also do these as favors. I did this one year using roses from bouquets we had at a memorable event to pass out to all the girl cousins in my family.

Hope you enjoy! If you make these, please take pics and send me a link...I'd love to see yours!

Tuesday, January 12, 2010

HOMESPUN HEART WREATH FOR VALENTINE'S DAY plus a bonus craft!


This "homespun" heart wreath hangs in my home.  I thought I'd share with you because it's so simple.  If you can use a sewing machine and follow a traced line,  YOU CAN MAKE THIS! 
All you need is...


Stuffing (see in the background)


something to make a heart shape with.  For the example I used a template I picked up on a trip recently.  I got this at a scrapbook supply store.  But for the finished wreath, the heart shape was the part you pop out of a frame.  (It was a frame where the center was the shape of a heart, the heart was just a toss-away).  If you feel comfortable enough, you can just draw your own heart.  I didnt.  LOL


A wooden embroidery hoop.  (Depending on the size of your hearts)  This one is a 6 inch hoop.
This hoop cost something like $1.29 at Michaels'.

oh yes!   and fabric!   LOL   I used fabric from my fabric "stash".  Too little to make anything substantial, but plenty good enough for this!

I draw/trace the heart outline directly onto the fabric.  This gives you a "sewing line".  Take the fabric to the sewing machine (your fabric will be RIGHT SIDES FACING) and just follow on the line.  Go ahead and sew all the way around and don't worry about leaving an opening for turning.  When you've made your hearts, cut a slit into ONE piece of fabric.  This will be the backside of the heart.  To do this, take a pinch of fabric, being careful not to have both layers and cut a slit.  You don't need a very big slit, just big enough to stuff through.  I cut my slit right in the middle of the heart shape. (and this  is hidden by the wooden embroidery hoop so everybody thinks you did such a great job sewing up the opening for turning on the side!! bwahaahaaa!!)   Clip your curves, and the top of the heart where it dips in) Pull the Un-cut layer of fabric through the cut...what you're doing is turning it right sides out, in case I've lost you there.  LOL
make sure your heart actually looks like a heart.  Now stuff it.  Doesn't have to be a hard stuff, but you don't want floppy  hearts either! (giggle)   Now whipstitch the slit you created closed.   Hot   glue the hearts to the wooden hoop.  (I found by trial and error, it's best to hot glue the hoop and lay the heart down on it rather than hot gluing the heart - -- trying to guess where the glue should go and where it lands on the hoop results in a lot of goop...ick!
For added decoration, I just took satin ribbon and weaved it around the heart and then topped it off with little satin ribbin bows.
To give the back a finished look, I just glued lace to the back, or some upholstry gimp.

Ta-Dah!  That's it.

And now for the "bonus" craft.


If you've found you've made a bunch of wrong heart sizes for your hoop (LOL) or just went crazy making hearts, Hang 'em by ribbons!  You could sew the ribbon onto the heart, but that's not what I did...I glued 'em!  LOL

Now have fun!
I'm linking up to:


Funky Junk's Saturday Nite Special


monogram


Wednesday, December 9, 2009

Angel Kiss Ornament


Want a quick and "sweet" ornament to give or use?  These are great little favors for guests, co-workers, teachers,  or decorations, or add-ons to a bow on a package....  You can make up a bunch in no time.  Here's what you'll need:

Chenile stem, or "pipe cleaner",  I used silver tinsel


Metallic craft cord


Tiny wooden beads  (sorry forgot to take a picture!)

Hershey Kisses (ok, there weren't any kisses left after my projects -  I had to make cookies too!)
1/4 inch wide satin ribbin, and you could also glue on top of the ribbon a teeny-tiny jingle bell
Hot glue, and glue gun.  I used the low-heat glue gun.

The toughest part was getting the loops even for the "wings".  I finally just used the top of an ink pen to make the loops even...


Here's what you end up with (your going to cut the "tails" off)


Next take that little bead and poke the craft cord through it.  I found the easiest way was to make my loop and stick the loop part through the hole from the bottom.  Now trim the bottem tails and with the nozzle of the glue gun, poke up thorugh the hole, ONLY SLIGHTLY, and squirt the hot glue inside.


Now that you have your individual parts put together, it's just a matter of putting  a dab of glue on the back to glue the wings on. 


Glue the "head" on the very top of the body, tie a tiny bow and glue to the "neck".


OH!  I forgot to mention the halo!!!  What's an angel without a halo?  Just make a tiny circle from your tinsel stem and put on top of head, just be sure you pull the "hanger" you made out of the craft cord through it!

and there you have it, a cute little angel kiss.   If you make these, please link back here, and let me see your finished angels and how you used them.


Sunday, November 15, 2009

Victorian Purse Ornaments


I used made these years ago to sell in craft shows and when I needed to make something to send in an ornament exchange I thought of these. I was surfing and saw a "make it with what you have" blog carnival and thought I'd do just that with my "stash" of loose ends that I couldn't bear to toss. Granted, they're doing "big" items, and this is a little ol' ornament, but I used what I had - so that counts for something, right? Then I started thinking that maybe some of my blog buddies might like to make some...just in case you're a "bag lady" like me!

It's really simple, and you don't need any advanced sewing skills! LOL Pics probably aren't needed (especially after seeing what a photographer I am!) but here's a few anyway.


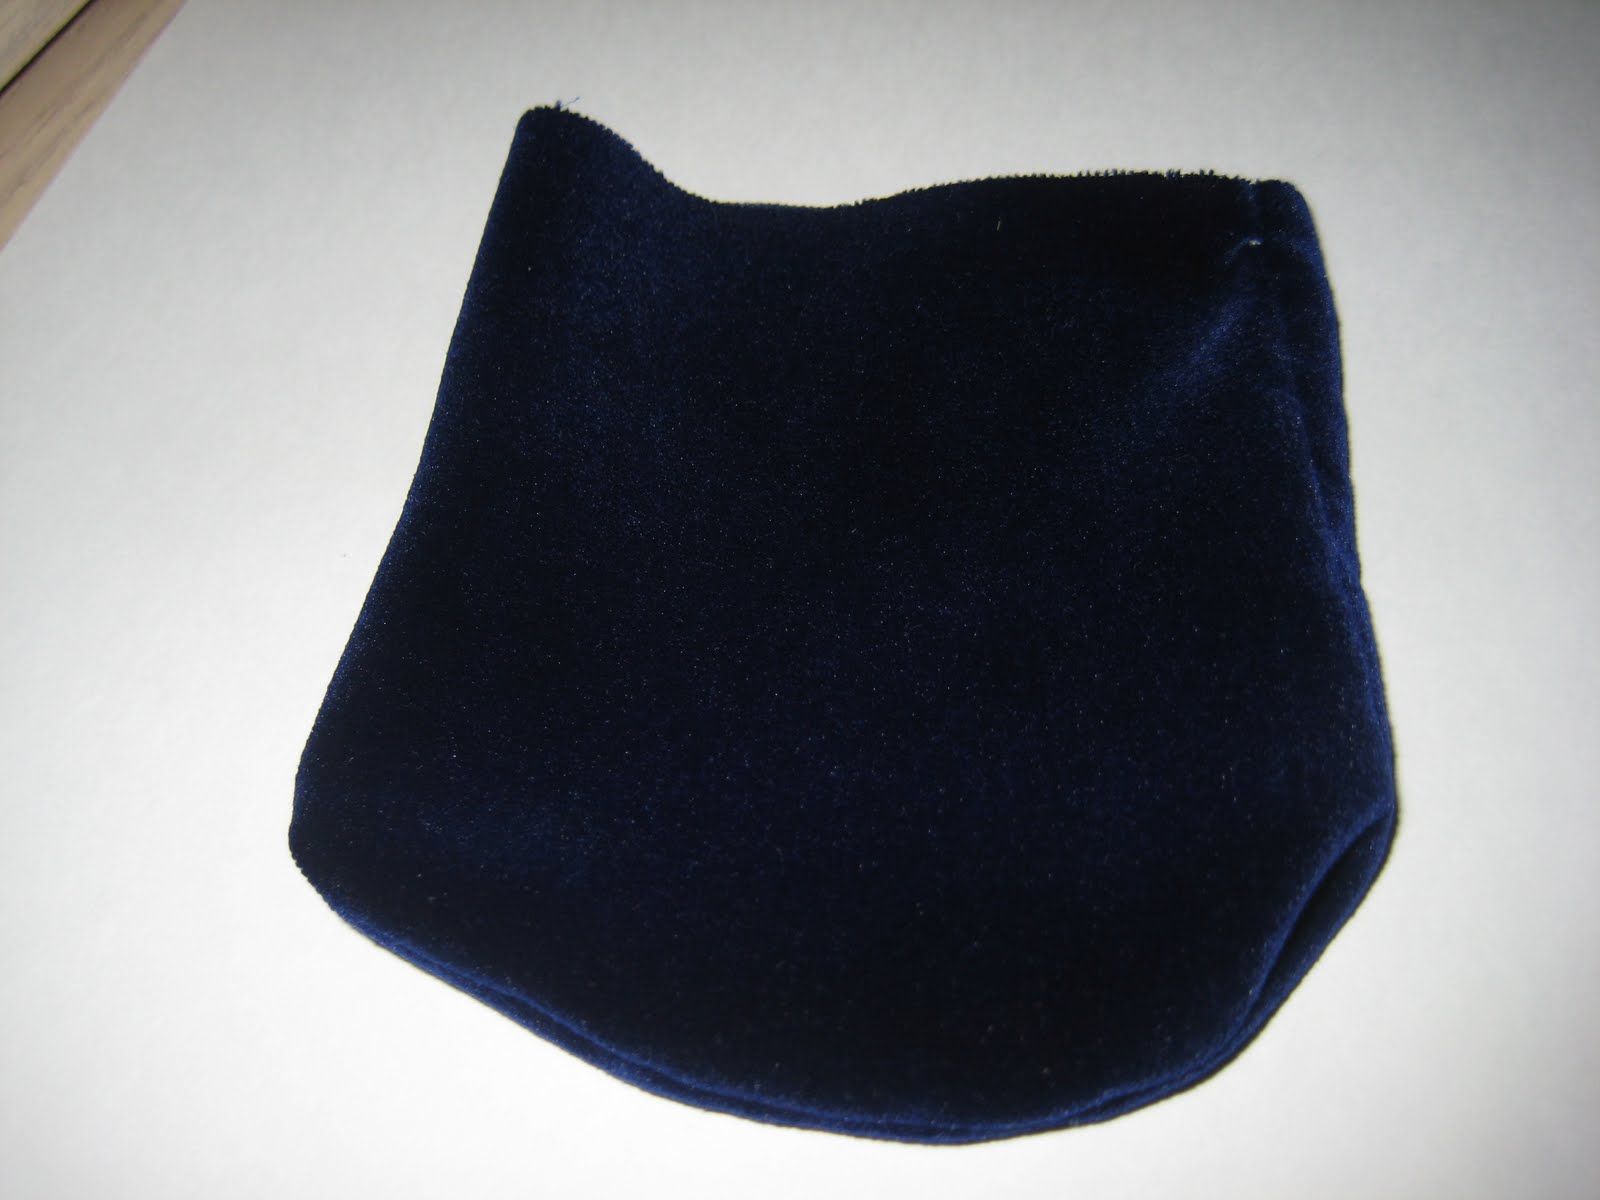
First, gather all your "loose ends" stash like lace, cording, hot glue gun and glue sticks, poly-fill stuffing, needle, thread, fabric. I used velvet for the purse body. You don't have to, but it just looks so elegant (it sheds though- Ugh!).


Make yourself a template out of cardstock, cardboard..whatever. It should measure 4 x 6 inches.


Trace the template onto your fabric (wrong side). Fold the 4 x 6 inch piece of fabric in half (making it 4 x 3 inches). Sew a scant 1/4 inch around three sides. You see in the picture on the left, the "bottom" of the purse has curved lines? You can eyeball it or find something to make that curve I used a half round template from my quilting rulers, but a cup or glass that would fit would be fine..just anything so your purse doesn't just look like a straight bag..unless that's what you're going for. Turn right sides out.


Stitch a running stitch, or gathering stitch, by hand all around the open end but don't close it off yet.
Now get out your stash and have fun! Eye it up on your purse and see what you like


Lightly stuff the purse body with poly-fill, or stuffing of choice. Remember lightly! Put just a dab of hot glue on the ends of the cording (I used gold because, again, it looks elegant) and put into the sides of the purse. Now you're going to pull the thread to gather (only slightly) the open end. To cover the ugly gathered ends, you will want to dig in the stash, you can use lace, those beaded do-hickies you buy sewn into ribbon (pardon the technical jargon), gimp, whatever. Run a line of hot glue around ugly ends and glue whatever you choose to cover it up. You'll notice I layered different things. The sky is the limit - just have fun. And don't forget to "finish" it off with a button ... kinda like a "snap" on a purse.


I hope I haven't totally confused you. But if I did don't hesitate to ask and I'll see if I can confuse you even more.


LinkWithin

Related Posts with Thumbnails