Pages

Friday, July 29, 2011

Guest Post with Amy from A Latte with Ott A

Guest Post with Amy from A Latte with Ott A
Have you done any canning? Want to? If you're like me, you take pride in the words "I made it myself". Whether it's something I've sewn, a crafty endeavor, or a new dish that turned out great, I get a sense of satisfaction knowing I did it. And I love to introduce my friends to other friends who share the same passion. Today, you're going to meet an on-line friend, Amy from A Latte with Ott A. She’s sharing her Strawberry Rhubarb jam with us. So, let me introduce you and get right to it!

Canning is a great way to preserve food for later use, but I'm always surprised by how many woman are skeptical or unsure of trying to can. In a day when more people are looking into urban gardening and doing more with less I'm here to tell you canning is easy and if you can follow a recipe you can.... CAN! I grew up canning with my mother and now as an adult I can whatever we can't consumer during the growing season for our garden. An easy way to start canning is by making Jam. So come on in and grab a Latte' with Ott, A and learn how to make and can Strawberry Rhubarb Jam. This recipe is sure to tickle your tastebuds and this tutorial will give you step by step instructions on canning.
To start with I washed my cut rhubarb pieces.
Then I chopped the Rhubarb up into little pieces until I got 5 cups. (I used a Ulo Knife I got while in Alaska last summer.) Once all the Rhubarb is cut I place it in a large bowl and add 3 cups of sugar. I put a lid on the bowl and put it in the fridge overnight or for about 6 hours.
I then pour the sugar/rhubarb mixture into a large pan on top of the stove and brough to a boil over medium heat. Once it boils reduce heat and continue to stir for 12 minutes until Rhubarb is tender.
Remove from heat; stir in a 3 oz. package of strawberry gelatin mix.
While all of this is happening I am also getting my jars ready. (Canning requires lots of multi-tasking so it always helps to get yourself really organized before you start.) In a sink I place my clean canning jars in as hot of water as I can stand. This gets the temperature of the jar hot, so they won't crack later when you add to hot jam to it. Simply fill up your sink and let them soak.
At the same time I usually place my lids and rings bowls of hot water as well. Again just to get their temperature up.
On your stove you will have your jam cooking on at the same time you will want to get the water boiling in your pressure canner or large pot that you will place your jars in. It's important to have about enough water in your pot to cover your jars by about half and inch. (It's probably going to get hot in your kitchen so feel free to crank up the AC or get an extra fan going in there.)
Once your jam is ready to go I take my jars out of the hot water they were sitting in and I used a ladel and a funnel to fill my jars up to 1/2 inch from the top. It's important to leave some head space in jars you are canning to allow for any expansion.
Next I take a paper towl and wipe of the edges of the rims of the jars to make sure there is no debrie on them and they will seal properly.
I then take a lid out of the hot water it was sitting in and place it on top of the jar.
Then I take a ring out of the hot water it was sitting in and screw it tightly on the jar.
Now my jars are ready to be placed in the boiling water bath we have ready to go on the stove in our pressure canner or large pot. I use a pair of canning thongs to help me do this.
Once all the jars are in I place a lid on top and set my timer for 15 minutes (for these 1/2 pint sized jars.) I usually turn down the heat just a little as I want to maintain the level of boiling and heat and not keep increasing it.
After the timer goes off I kill the heat on the stove and let it sit there until the pressure in my canner has dropped or if your just using a large pot, wait until the bubbling of the boiling water has settled. Then it is safe to remove your jars from the water and place on a towel. Allow jars to sit undisturbed for several hours. During that time you should be listening for the popping sound of your jars sealing. A popping sound is the best sound to a canners hears as that meals the jars have sealed. If you are uncertain if the jars sealed or not, after they have been allowed to sit for several undistirbured hours, simply take off the ring and try to lift the lid off. If you can't pull it off it has sealed. If you can, then you know it didn't work.
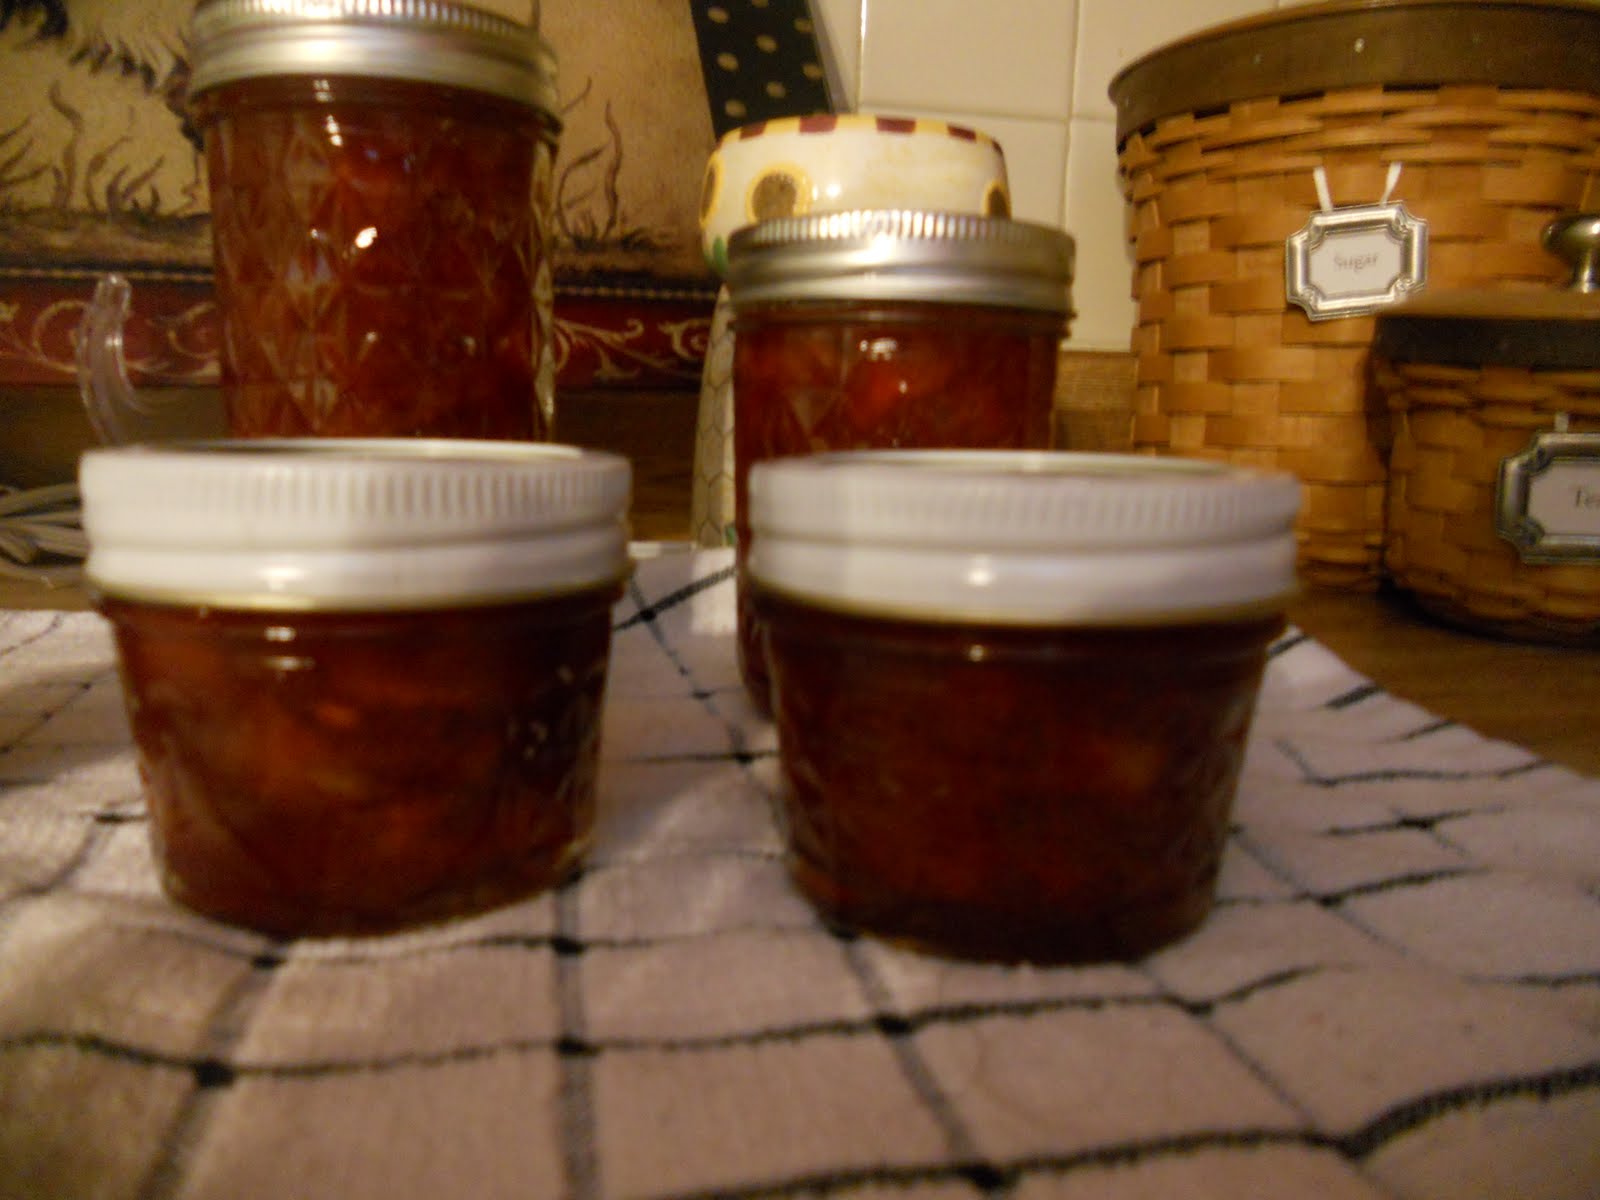
This recipe will yield about 8 half pint jars. It simple to make and taste amazing on your morning toast or would make great gifts for friends and family. As you can see canning is easy to do so give it a try sometime and let me know how it turns out.
If you are interested in learning more about Canning feel free to stop by my blog during August 22-26 for Canning Week 2011. Each day we will be blogging more recipes and how to guides for how to can various fruits and vegetables and along the way have some give-a-ways as well. It's a great way to learn more and interact with other bloggers that can!!!

Tuesday, July 26, 2011

Prayer Request Tuesday

Prayer Tuesday

This is the day set aside for prayer for you...

If you have a prayer request, please list it in the comments below. You don't have to give any information you don't feel comfortable with. (A simple "unspoken" comment is sufficient).

If you would like to pray, then please pray for the comment above yours.

Also, if you would like to share a "praise" for a blessing you have received please feel free to leave a comment so we can all rejoice with you!

I would like to tell you all what a blessing you have been and how my heart melts when I hear from you, both privately and in the comments of how you are praying for the comments left here. That is what I hoped would happen. We're feeling a real sense of community, and sharing one another's burdens and rejoicing with our fellow sisters! Thank you so much for your feedback!

Friday, July 22, 2011

Who are we trying to leave a legacy to?

"The life of mortals is like grass, they flourish like a flower of the field;
The wind blows over it and it is gone, and it's place remembers it no more"
- Psalms 103:15-16


Tonight hubby is at the Rays' baseball game (they're playing the Yankees), so on the rare occasion I actually got possession of the remote control. I chose the Hallmark channel and sat down to a nice marathon of Little House On the Prairie. I know, I know. I lead such a jet-set lifestyle.

I don't know if it's with each passing year we live, or when we hear of someone's early demise, but we tend to think of our own mortality. What kind of mark are we leaving on this earth. (Kind of like the ponderings I made in the post called My Life.) We all want to be remembered.

In this episode, Charles Ingalls' good friend dies suddenly of a heart attack. After his death the man's children sell his homestead. Charles comes up and sees the man's name on a sign thrown to the side as the new owners move in and claim it as their own. This is probably the turning point where Charles starts thinking about what kind of a legacy he's leaving behind. Not wanting to live his whole life and never be remembered after he's gone.

Ok, to give you the "Reader's Digest" version I'll condense it.

Charles is making tables that are a hit in the "big city". He see's this as his opportunity to leave his mark. People will remember him through his furniture. So he leaves his family behind on the farm and works day and night in the city. After someone steals his idea and mass produces his furniture (there goes his dream of leaving his mark in the world...of being remembered).


He has to re-evaluate what a legacy really is. He had been working so hard to make sure he was remembered by strangers instead of the people who really mattered...his family.

The only investment that remains is in the lives of the ones we love. Do we spend as much time investing in the lives of those precious ones as we do achieving our "goals" and "ambitions" ?


LinkWithin

Related Posts with Thumbnails