
Have you done any canning? Want to? If you're like me, you take pride in the words "I made it myself". Whether it's something I've sewn, a crafty endeavor, or a new dish that turned out great, I get a sense of satisfaction knowing I did it. And I love to introduce my friends to other friends who share the same passion. Today, you're going to meet an on-line friend, Amy from A Latte with Ott A. She’s sharing her Strawberry Rhubarb jam with us. So, let me introduce you and get right to it!
Canning is a great way to preserve food for later use, but I'm always surprised by how many woman are skeptical or unsure of trying to can. In a day when more people are looking into urban gardening and doing more with less I'm here to tell you canning is easy and if you can follow a recipe you can.... CAN! I grew up canning with my mother and now as an adult I can whatever we can't consumer during the growing season for our garden. An easy way to start canning is by making Jam. So come on in and grab a Latte' with Ott, A and learn how to make and can Strawberry Rhubarb Jam. This recipe is sure to tickle your tastebuds and this tutorial will give you step by step instructions on canning.

To start with I washed my cut rhubarb pieces.

Then I chopped the Rhubarb up into little pieces until I got 5 cups. (I used a Ulo Knife I got while in Alaska last summer.) Once all the Rhubarb is cut I place it in a large bowl and add 3 cups of sugar. I put a lid on the bowl and put it in the fridge overnight or for about 6 hours.


Remove from heat; stir in a 3 oz. package of strawberry gelatin mix.

While all of this is happening I am also getting my jars ready. (Canning requires lots of multi-tasking so it always helps to get yourself really organized before you start.) In a sink I place my clean canning jars in as hot of water as I can stand. This gets the temperature of the jar hot, so they won't crack later when you add to hot jam to it. Simply fill up your sink and let them soak.

At the same time I usually place my lids and rings bowls of hot water as well. Again just to get their temperature up.


After the timer goes off I kill the heat on the stove and let it sit there until the pressure in my canner has dropped or if your just using a large pot, wait until the bubbling of the boiling water has settled. Then it is safe to remove your jars from the water and place on a towel. Allow jars to sit undisturbed for several hours. During that time you should be listening for the popping sound of your jars sealing. A popping sound is the best sound to a canners hears as that meals the jars have sealed. If you are uncertain if the jars sealed or not, after they have been allowed to sit for several undistirbured hours, simply take off the ring and try to lift the lid off. If you can't pull it off it has sealed. If you can, then you know it didn't work.
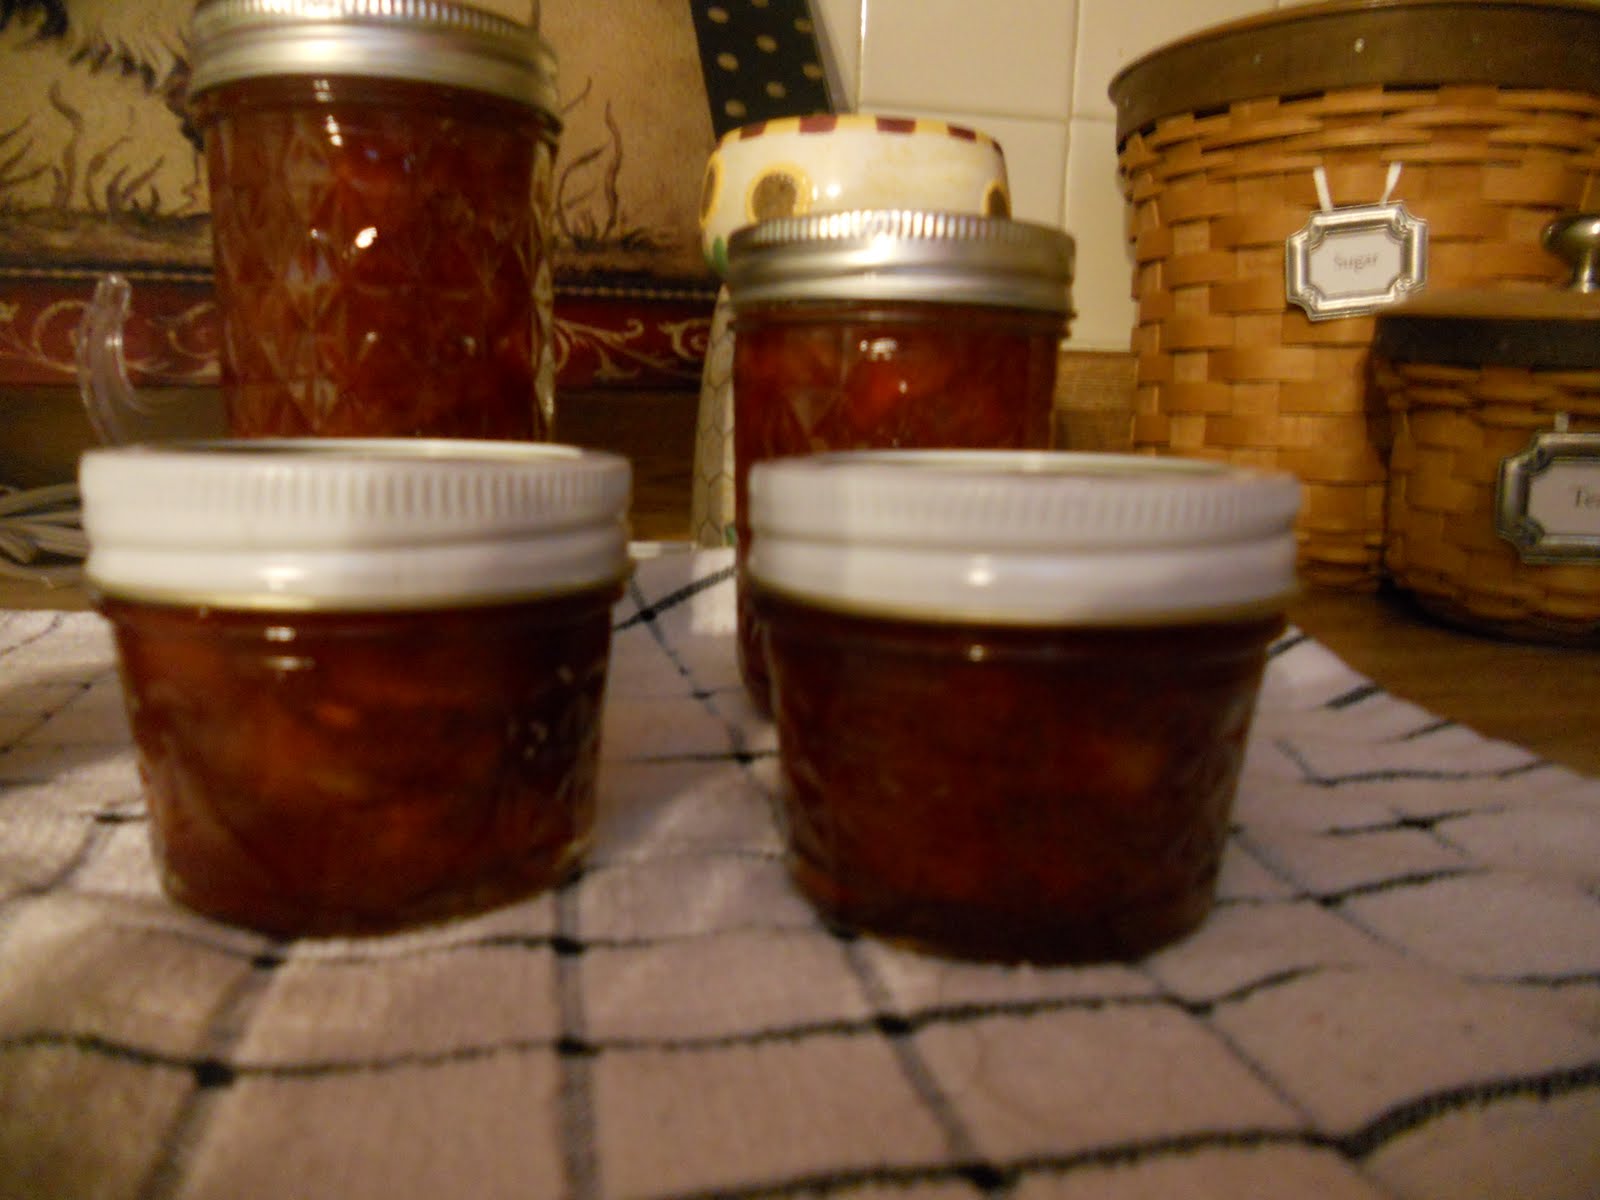
This recipe will yield about 8 half pint jars. It simple to make and taste amazing on your morning toast or would make great gifts for friends and family. As you can see canning is easy to do so give it a try sometime and let me know how it turns out.


Thanks a Latte' for featuring me today. I hope this post gives others encouragement to try canning for themselves!!!!
ReplyDeleteOh yum!!! I love Rhubarb but don't get it here :( This brought back memories of canning when I was child growing up :)
ReplyDeleteYum, love rhubarb. Is it really chunky or does it cook down enough to be pretty smooth?
ReplyDelete